Last year was the first year I used daily Take Home Folders. I've used homework folders in the past, but not a real organization/communication tool for school to home.
Last summer I picked up
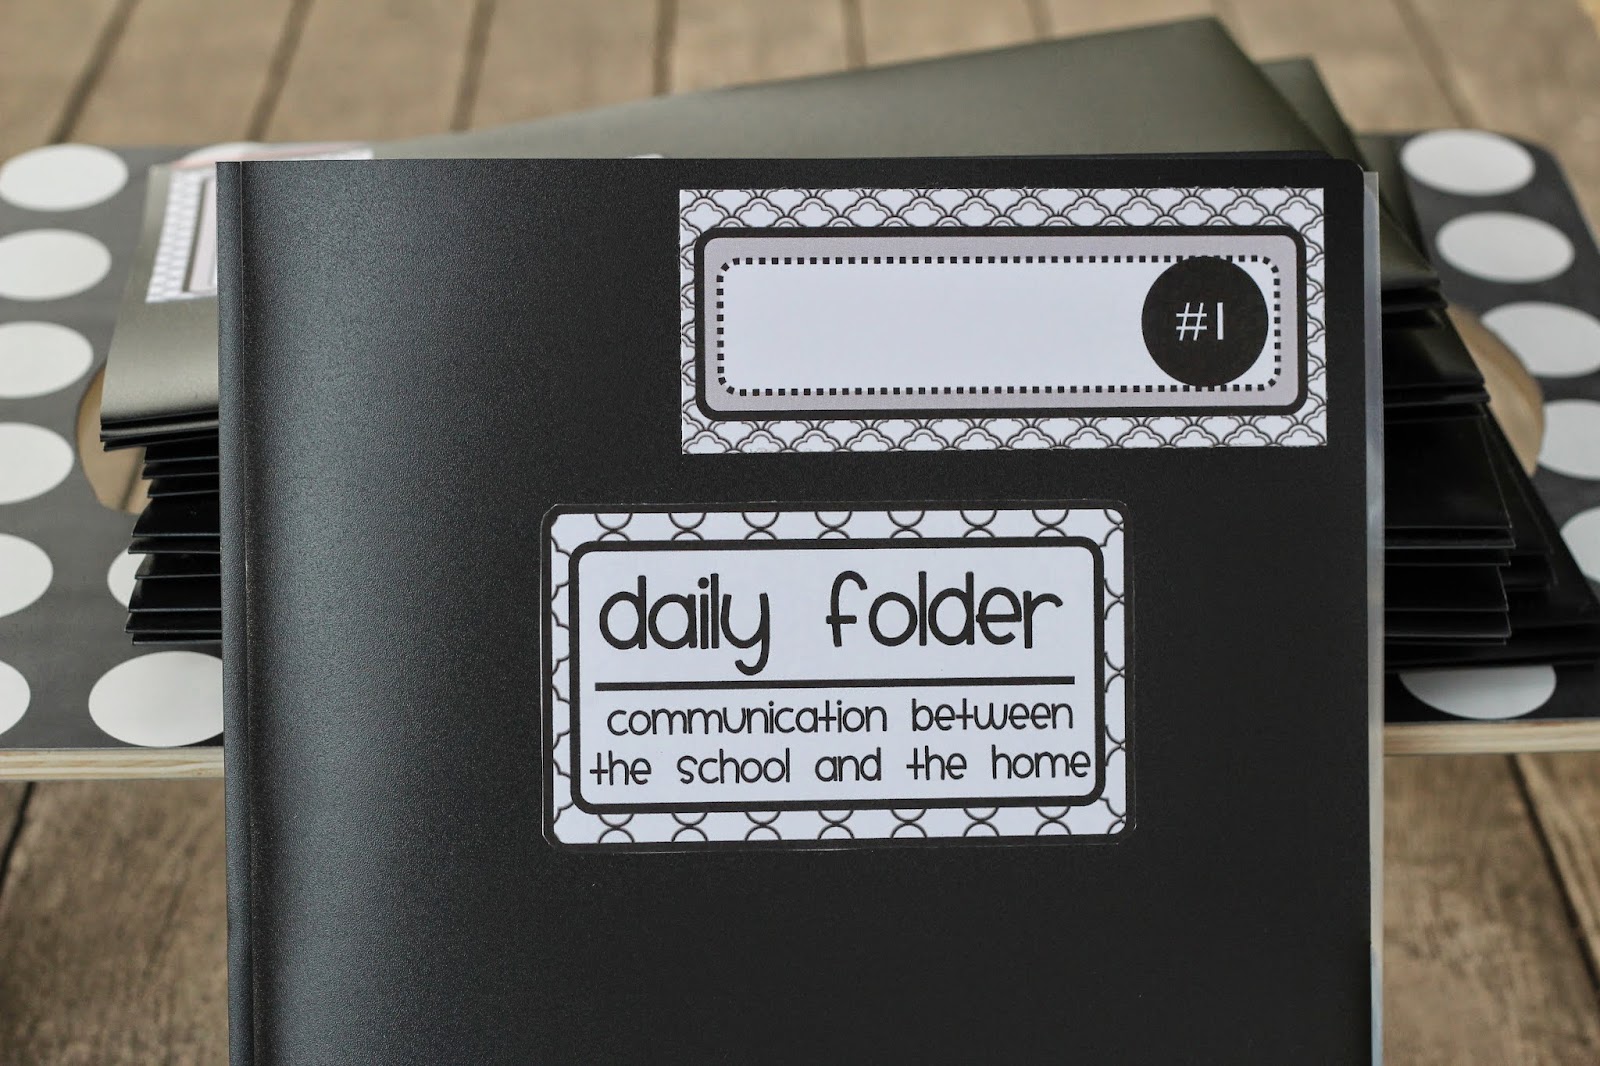
this set from Clutter-Free Classroom during a flash freebie. It perfectly matched my classroom theme, so I went with it. Overall, the daily folders worked out great! I bought the thick and sturdy plastic folders from Office Depot, and they held up all year. I checked them out at Walmart this year, but of course, the quality is not as good. So I paid a bit extra again at Office Depot but know they will last. Also, I used my Xyron Creative Station to adhere all of the pieces to the folder. I use the permanent adhesive and it holds up all year.
Last year I also added a plastic pocket divider to store the student's daily behavior calendar.
This behavior calendar really worked out well and held the students accountable each day. At the end of the day they colored that day's square with where ever they were on the behavior clip chart. If they had a yellow or below, I made a note in the square as to why. Each night the parents initial that day's square so they can see how their student was doing at school. I had two students on classroom behavior support plans, so this was ideal in terms of communicating with home
and with documenting behavior in the classroom. At the end of the month, when I replaced the calendars, I would save the old calendar and could refer back to it when needed. That's a keeper for sure this year!

Next is a page protector that holds the lunch menu on one side and the school calendar on the backside. It's very handy for the students and parents.
Last year there was also a page protector for lunch money or fieldtrip money. This was rarely used, so this year I stuck to just one page protector.
Also, there were home to school communication sheets you can add to the folder. My student's parents typically just call the classroom and I found no one ever wrote in here. So this year I also took those out.

So here are my super simple Daily Take Home Folders. Important notes home, information and homework go in the front cover. At the end of the week when we empty mail boxes, those papers go in the back cover.
These are super simple to assemble and keep the students organized all year. The students take them out first thing in the morning. I collect them and then return them at the end of the day. Knock on wood.... no one lost one last year. Let's hope for the same thing this year as well!


 Seasonal Centers
 These big tubs are stored on top of my storage cabinet. I have a tub for August-December and then January-June. I organize my seasonal books the same way in these tubs.
  Besides my seasonal centers, I have various language arts skill centers that are sorted in baskets. Years ago I made labels on little dividers to keep them organized. They sit on storage drawers right behind my Guided Reading table.
 Due to the fact that I have my students for sometimes six years, I really have to keep adding to these centers all the time. I have started to keep track of when I use the center and with who simply by putting a post-it note on the front of the center envelope or folder with their name and date used.
 Today I am excited to share that I FINALLY finished up all of the Dolch Word File Folder Activities! This was a major project that took me a lot longer than I anticipated! But they are done and up on TpT.
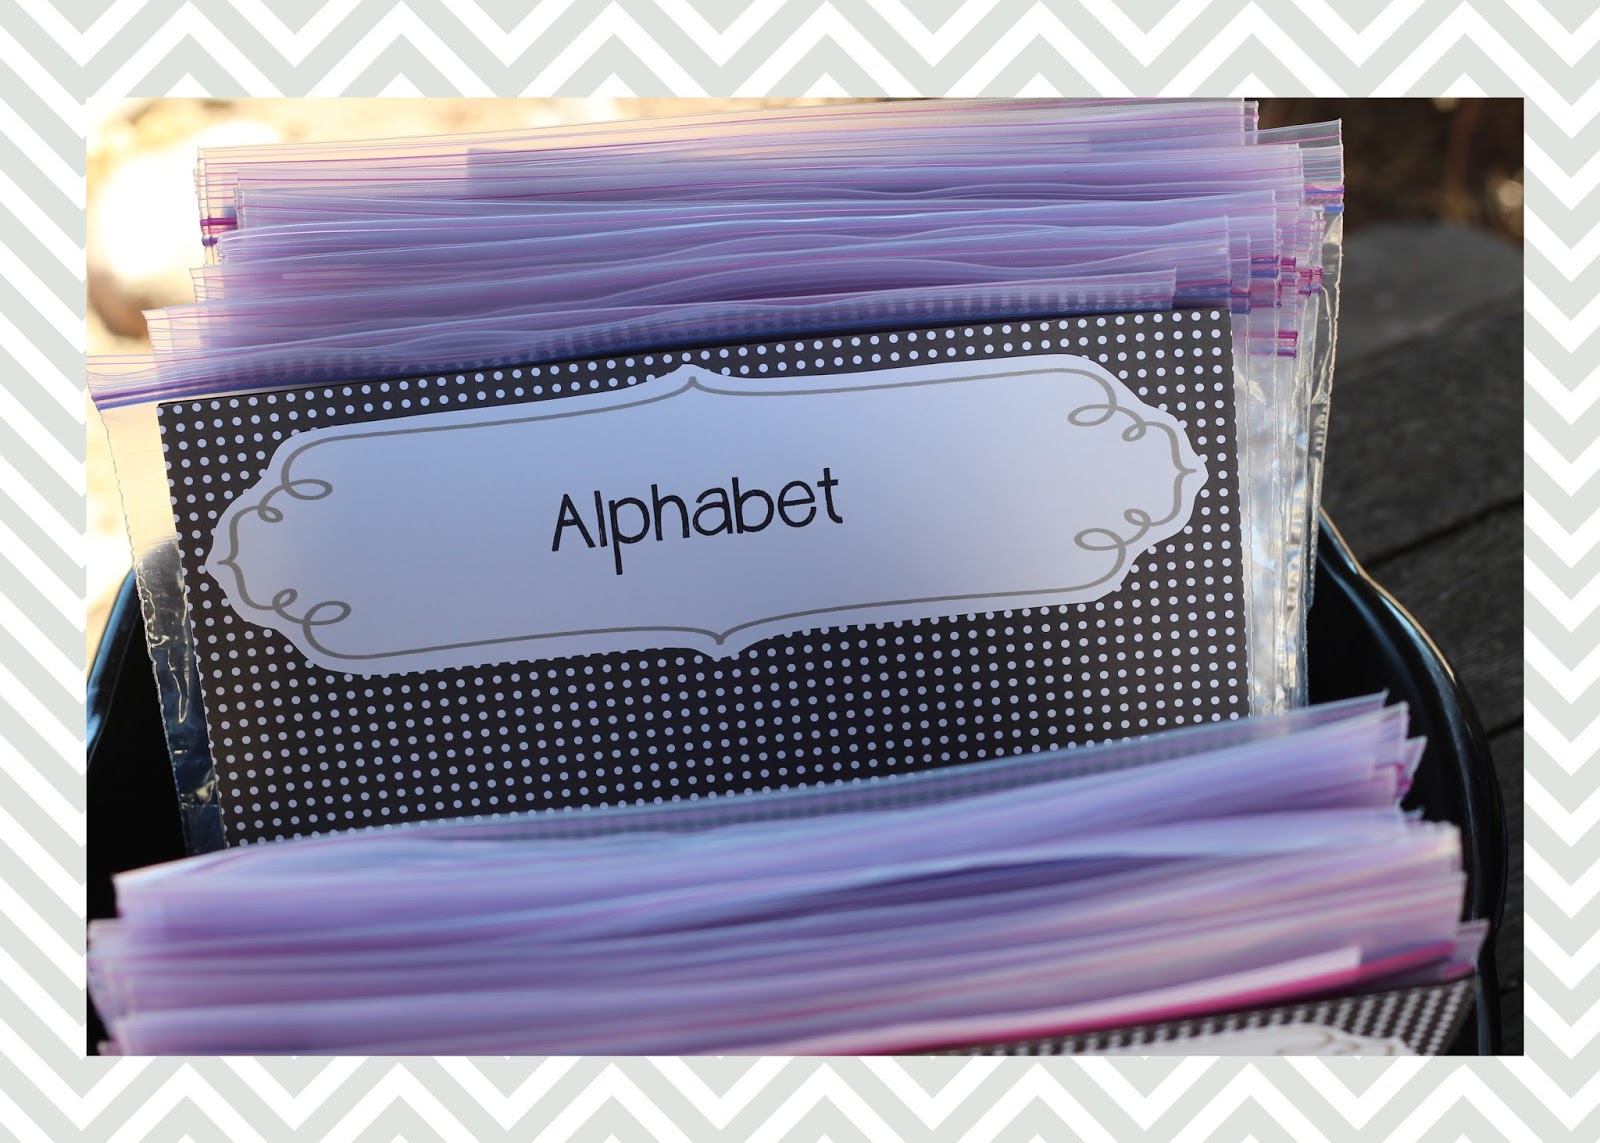
 Not only that, but they are finally assembled, laminated and being used in my classroom! They are the perfect task for my students. We are using the Dolch words for spelling each week, so these are a great resource to practice each of their words.
 As many of you know, I teach a multi-grade classroom. Well, six grades to be exact. It's crazy and I don't even know how I do it on most days. But some how we make it work. These File Folder Activities are working out well since I can just pull the words that each student is working on. But as I was using the full set last week I realized I needed a way to quickly find the words I was looking for. So I have added some dividers to separate the grade levels. Check out that little freebie up on TpT for your Dolch Sight Word activities.


